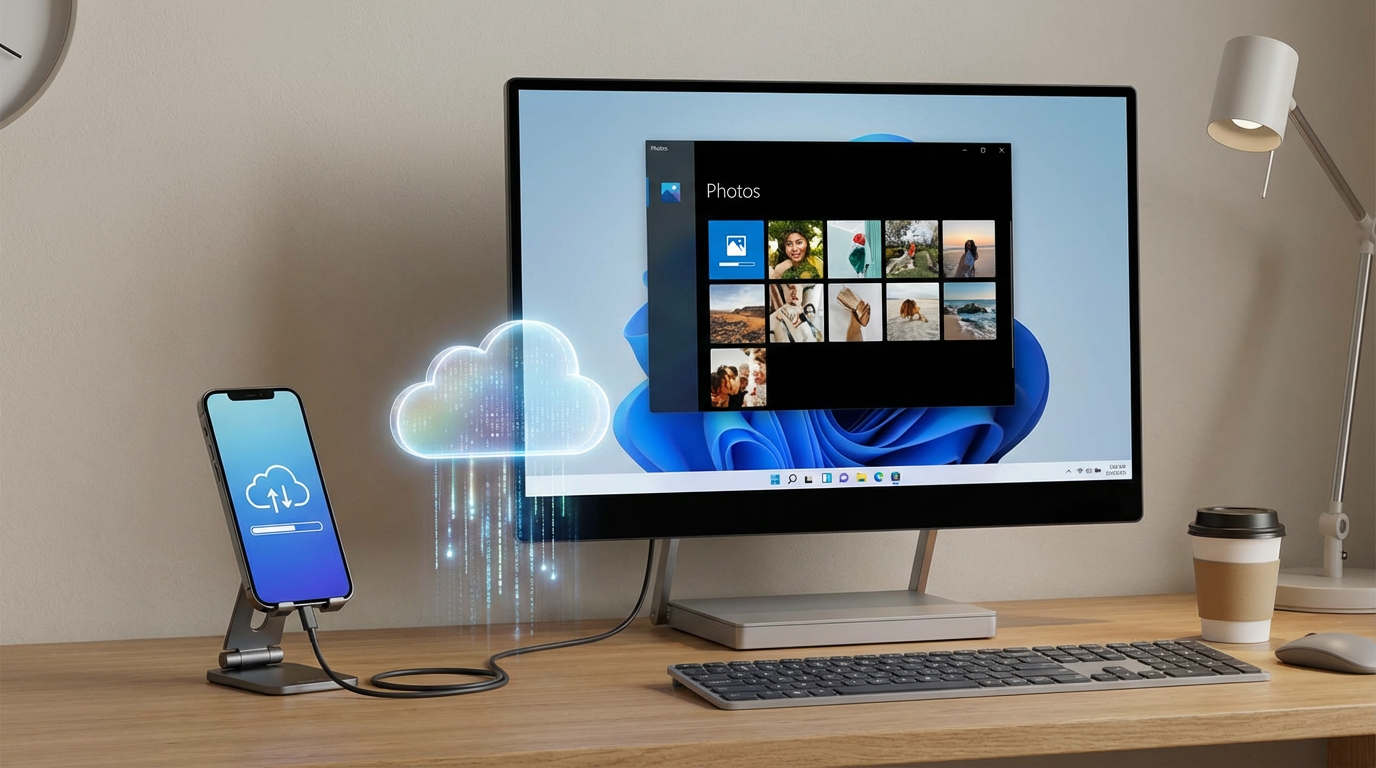
You’ve got photos on your phone—what “wireless” actually means for where they’ll land on Windows
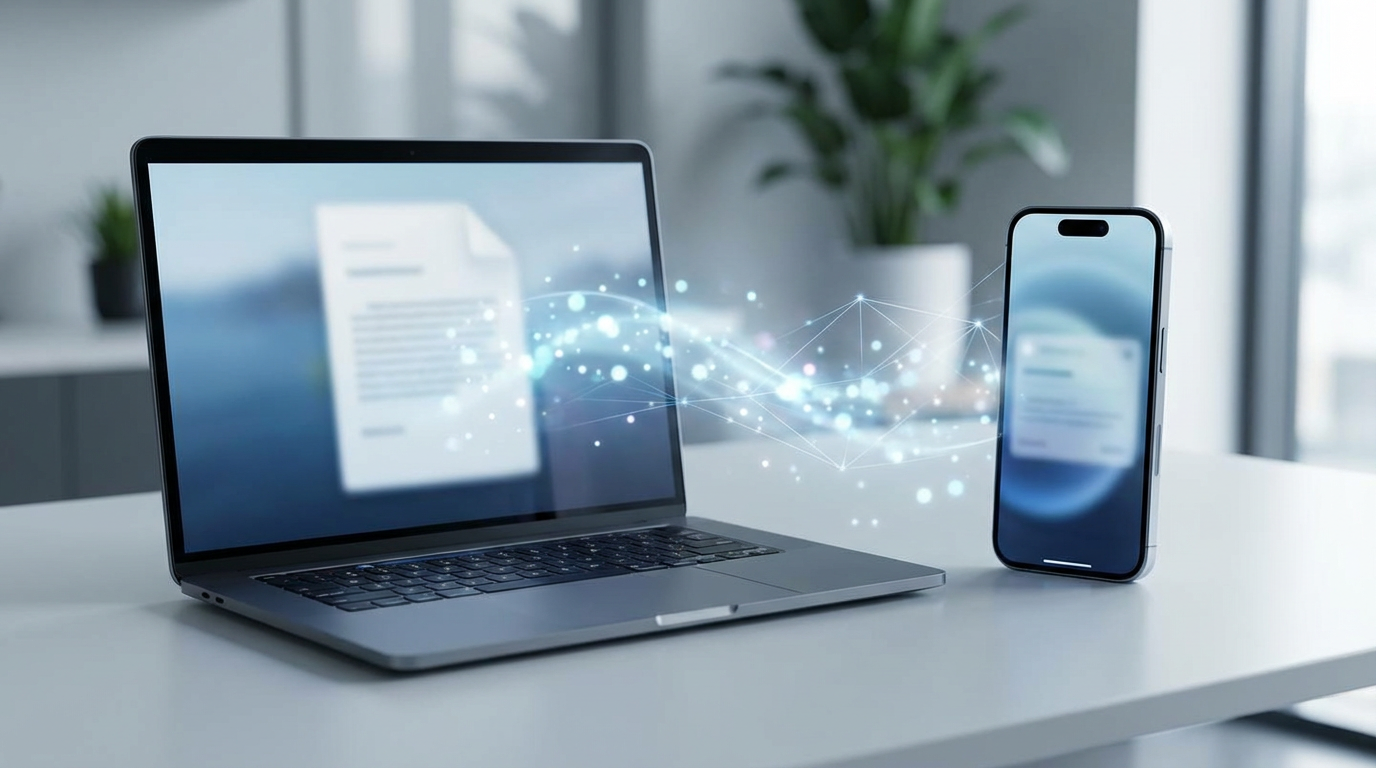
You tap “Share,” pick something that says “wireless,” and the photos do leave your phone—but they don’t always land as plain files in a folder you can find. Sometimes “wireless” means a cloud library that syncs over time (and may compress or convert formats). Sometimes it means a direct transfer over the same Wi‑Fi, which is fast but picky about sleep settings and network quirks. Other times it’s really just a link or a chat attachment, which is fine for a few shots and risky for full quality.
The key is deciding what you need Windows to end up with: a browsable folder of originals you can rename and back up, or a synced view inside an app that may store files in a managed location. That one choice drives everything else—speed, setup pain, and whether you’ll later wonder, “Where did my photos go?”
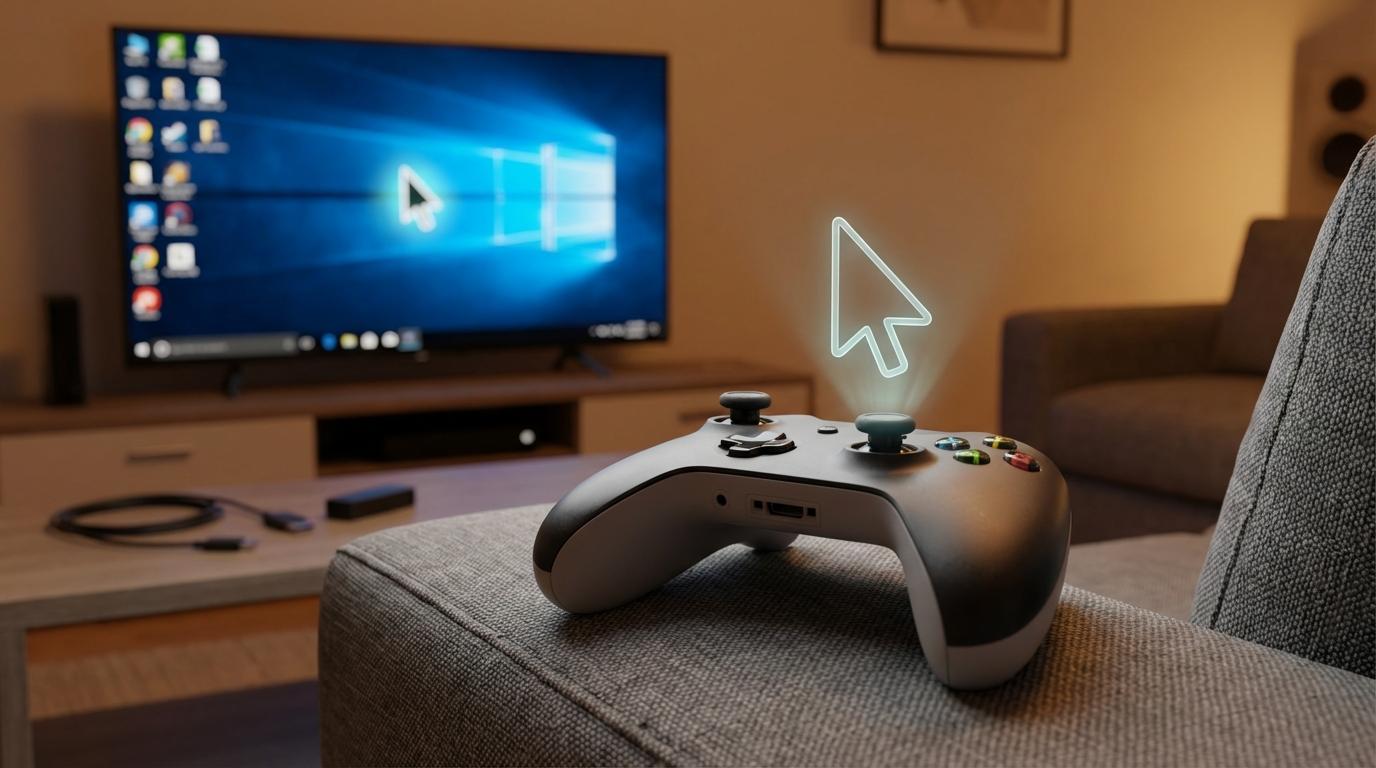
First fork: Are your phone and PC on the same Wi‑Fi (and can you keep them awake for 10–20 minutes)?
That “where did my photos go?” moment usually starts with a simpler question: can your phone and PC actually see each other long enough to finish a transfer. If they’re on the same Wi‑Fi network, you can use methods that push real files straight onto the PC (often faster than cloud), but they tend to fail in boring ways—guest Wi‑Fi isolation, or “Wi‑Fi Assist”/cellular switching on the phone.
Do a quick reality check: confirm both devices show the same network name, then keep the Photos app open on your phone and prevent the screen from locking for 10–20 minutes. A large batch can stall if the phone sleeps, the PC goes to sleep, or the router drops idle devices.
If you can’t guarantee same Wi‑Fi and awake time, you’ll get a smoother result by choosing a cloud-based route—or a “send a few” fallback when speed matters more than perfect organization.
If you want the simplest setup, start with Microsoft Phone Link (Android) or iCloud Photos (iPhone)—but know what you’re getting
That “smoother result” usually means letting an ecosystem sync in the background while you do something else. On Android, Microsoft Phone Link is the lowest-friction start: install/enable it, pair the phone to your Windows PC, then browse recent photos from the Phone Link app and save copies to a folder you choose. It’s fast for grabbing what you just shot, and it doesn’t require you to understand networks.
The trade-off is scope. Phone Link is geared toward “recent” and “a few at a time,” not dumping your whole camera roll at full, predictable fidelity. If you need hundreds of originals today, you’ll likely hit limits, spot missing items, or spend time manually saving and naming.
On iPhone, the simplest path is iCloud Photos in the iCloud for Windows app: enable iCloud Photos on the phone, sign in on the PC, and let Photos download as it syncs. The friction here is delay and storage—sync can take hours on a big batch, and you’re now managing a cloud library, not just a one-time transfer.
Need full quality and a big batch today? Choose between OneDrive/Google Photos upload vs a local Wi‑Fi transfer app
That “hours on a big batch” problem usually comes down to a simple choice: do you want the internet to carry the load, or do you want your own Wi‑Fi to do it. If you’re okay with waiting but want a predictable pipeline, a cloud upload (OneDrive or Google Photos) is the cleanest. You upload from the phone, then download on Windows from the same account. The friction is hidden: you can hit cellular restrictions, your upload can pause when the phone locks, and some settings can change what you get (for example, “storage saver” vs “original quality”). Always check that quality setting before you start.
If you need full quality fast and you’re on the same Wi‑Fi, a local Wi‑Fi transfer app is often the best “big batch today” tool. The good ones let you select hundreds of photos, then you pull them from a browser page on your PC or a lightweight desktop helper. The trade-off is reliability: Windows Firewall, or “AP isolation” on the router can make the phone and PC look invisible to each other.
Pick cloud when your network is unpredictable; pick local Wi‑Fi when you control the network and can babysit the transfer until it finishes.
When you’re not on the same Wi‑Fi: what still works (hotspot, cloud link, or ‘send a few’ tactics)
That “pick local Wi‑Fi when you control the network” advice breaks down the moment you’re on hotel Wi‑Fi, a guest network, or your PC is on Ethernet at work and your phone is on cellular. In those cases, the direct-transfer apps often fail because the devices can’t see each other, even if the internet works fine.
If you need a real batch, your most reliable move is still cloud: upload from the phone (preferably on Wi‑Fi when you can), then download on Windows. The friction is time and data. A few gigabytes of photos can burn through a mobile plan fast, and uploads can pause if battery saver kicks in or the app loses background access.
If you need “today” without the shared network, a hotspot can recreate it: connect the PC to your phone’s hotspot, then run the same local Wi‑Fi transfer method. Watch for two gotchas: some carriers throttle hotspot speeds, and the phone may overheat on long transfers. For just a handful of photos, use a share link (OneDrive/Google Photos/iCloud) or a chat attachment—fast, but not a great way to preserve originals consistently.
Where did my photos go on Windows? Find the folder, rename sanely, and avoid duplicates
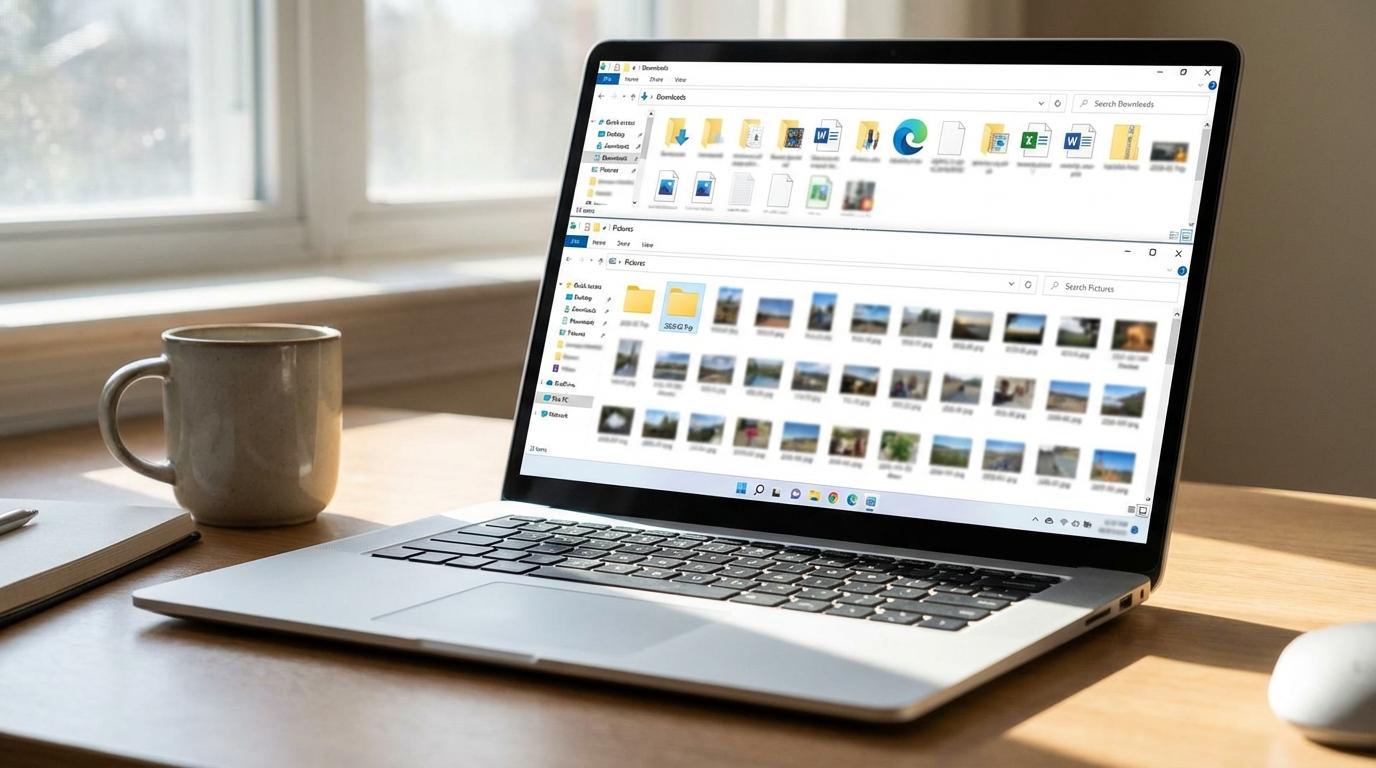
That “fast, but not a great way to preserve originals consistently” pain often shows up as a Windows problem: you did the transfer, but now you can’t tell where anything landed—or whether you have two copies. Start by checking the obvious catch-all: File Explorer > Pictures and Downloads. Cloud libraries add a twist: OneDrive and iCloud Photos can look like normal folders in Explorer, but the files may be “online-only” until you open them or force a download, which matters if you plan to back up to an external drive.
Before you rename anything, pick a landing folder and stick to it (for example, Pictures\2026-02 Trip). Then rename in batches by date so future imports don’t collide. The friction: many phones reuse names like IMG_1234; if you import twice, Windows won’t overwrite cleanly, so you get (1) duplicates or silent skips.
If you suspect duplicates, sort by Date taken and Size, and spot-check a few pairs. If two files share a name but one is smaller, you likely pulled a compressed copy from a share link or chat, not the original.
Quick checks before you delete anything: confirm full resolution, Live Photos/HEIC behavior, and missing items
That “one is smaller” clue is your cue to verify you got what you meant to transfer before you clear space on your phone. In File Explorer, switch a folder to Details, then add Size and Date taken. Open 5–10 random photos in the middle of the batch (not just the newest) and zoom in; if fine detail turns mushy, you likely pulled a share-version, not the original.
Then check format behavior. iPhone Live Photos often arrive as a still plus a short video, and iPhone/Android may produce HEIC images. Windows can show HEIC, but some apps can’t edit it cleanly without converting. If you need easy compatibility, plan a controlled conversion after you confirm you have the originals—don’t “export” again from a Photos app and accidentally downsize.
Finally, count what matters. Compare the phone’s selected total to the number of files on the PC, and search for your oldest and newest timestamps. If anything is missing, re-run only that date range before you delete anything.
Pick your “default” method for next time (and keep a backup path in your pocket)
Once you’ve spot-checked quality and counts, the real win is not having to think this hard next time. Pick one “default” that matches how you usually shoot: if you’re iPhone-heavy and want everything to appear automatically, stick with iCloud Photos. If you’re Android and mostly grab recent shots to a folder, keep Phone Link as your quick pull method. If you regularly move big batches, make cloud upload (OneDrive/Google Photos) your baseline because it works even when networks change—just lock “original quality” settings.
Then keep one backup path for the day your default breaks. A local Wi‑Fi transfer app is the best “I need full quality right now” fallback when you’re on the same network; a hotspot can recreate that when you aren’t. The trade-off is babysitting: long transfers fail when screens lock, battery saver kicks in, or Windows sleeps—so plan to keep both devices awake.