You already have the camera—why do phone shots still disappoint?
You pull out your phone, tap the shutter, and the moment looks fine on screen—then later it’s soft, the face looks flat, and the background is brighter than the person. That gap isn’t because your phone camera is “bad.” It’s because phones make fast guesses about focus, brightness, and color, and they guess wrong in the exact situations you shoot most: indoor lights, backlit windows, moving kids, night streets.
The trade-off is convenience: the phone does a lot automatically, but you lose control unless you take it back for a few seconds. The good news is you don’t need gear or jargon—just a repeatable setup and a couple of small moves that force the phone to make better choices.
Before you tap the shutter: the 20‑second setup that prevents 80% of “meh” photos
That “few seconds” is where most phone photos get saved. In real life, you’re usually shooting quickly—kids don’t wait, friends blink, your food gets cold—so the goal is a tiny routine that makes the phone’s auto choices more predictable.
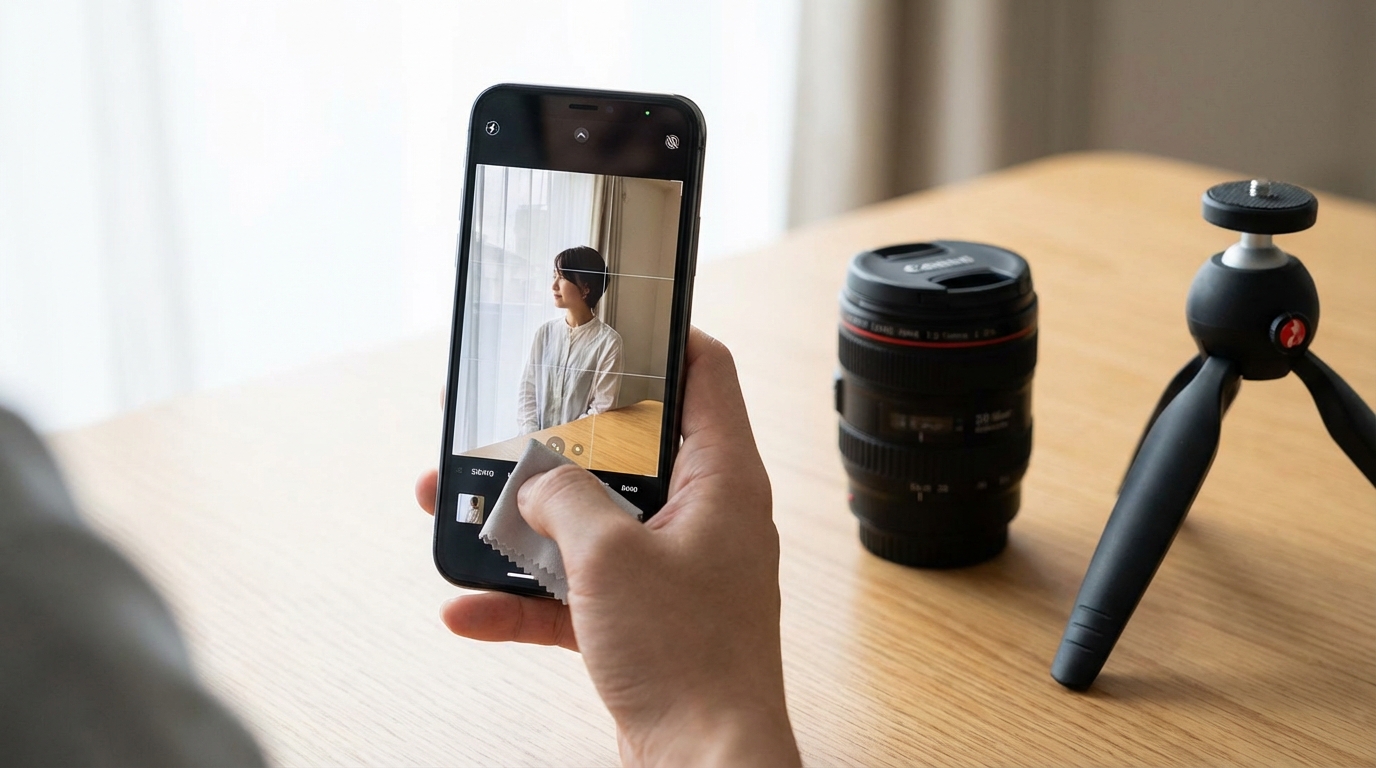
Do this before every important shot: wipe the lens with your shirt (pocket lint is enough to cause that hazy, soft look), then tap and hold on the main subject to lock focus and exposure. If the face looks dark, slide your finger up to brighten a touch; if a window or sky is blowing out, slide down. Take one step closer with your feet (not pinch-zoom), and keep the phone level so people don’t stretch or tilt. Finally, take two quick frames—one “safe,” one slightly brighter or darker.
The friction: exposure lock can make the rest of the scene look worse, and that’s okay. You’re choosing what matters in the moment, which makes the next decision—where you stand for better light—much easier.
Is the light working against you, or are you standing in the wrong place?
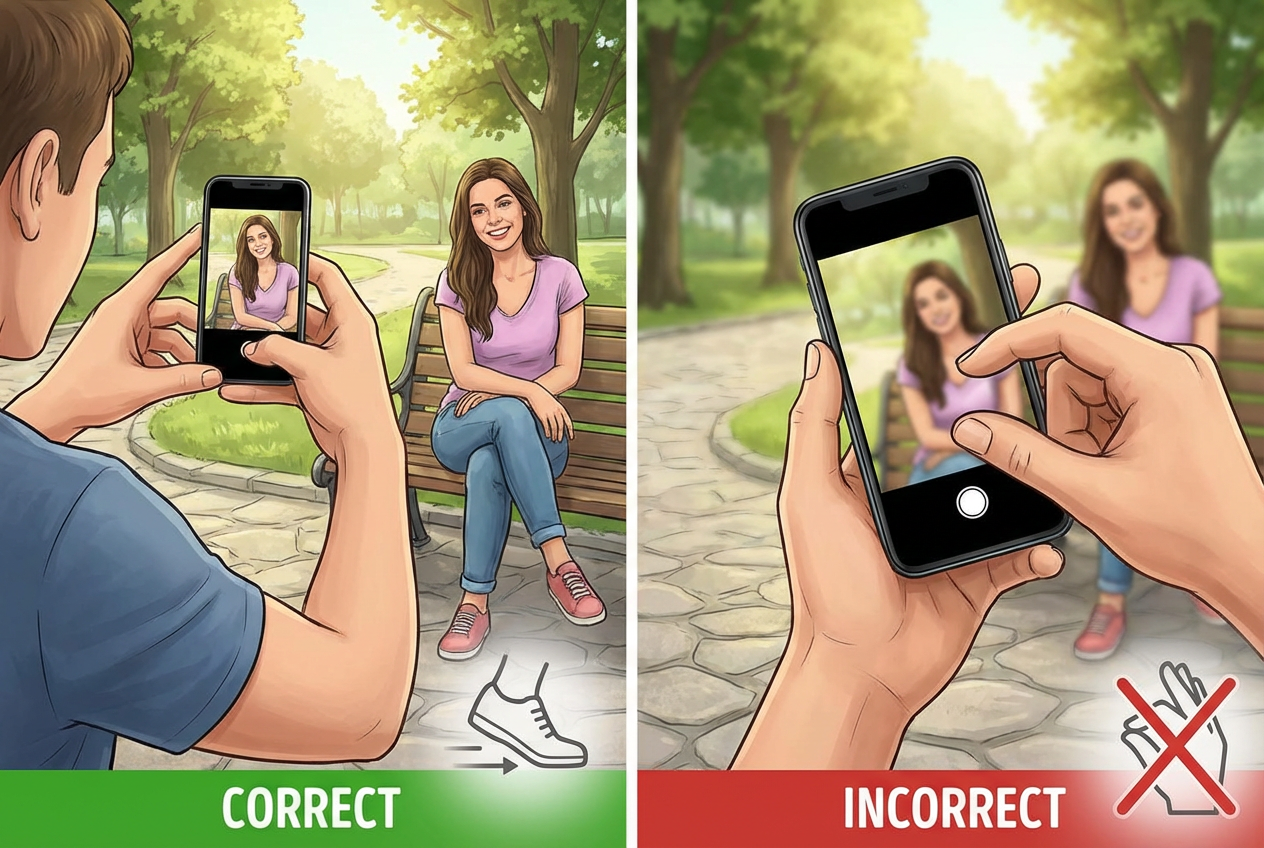
Once you’ve chosen what matters, the fastest upgrade is usually not a setting—it’s where you stand. The common failure is backlight: your subject is in front of a window, a bright sky, or a lamp, so the phone protects the highlights and the face goes dull. If you can, turn the person so the bright source hits their face, or move them a few feet sideways so the window becomes side light instead of a spotlight behind them.
When you can’t move the person (at a table, in a crowd), move yourself. Take two steps to change the background, then drop your shooting angle slightly so the bright area isn’t filling the top half of the frame. Indoors, aim for “big, soft light”: stand near a window or open doorway and face it. Overhead room lights often give dark eye sockets and shiny foreheads.
The trade-off: better light can mean a messier background. If the light is right but the scene looks busy, you’ll fix that next.
When people look weird in phone photos, what should you change first?
If the light is right but faces still look “off,” it’s usually the lens choice and distance, not their face. Most phones switch to a wider lens when you’re close, and wide lenses stretch whatever is nearest—noses, foreheads, and the person on the edge of a group.
Change this first: take one or two steps back, then zoom a little (around 1.5×–2×) and reframe. You’ll get a more natural face shape and less edge-stretch on groups. Keep the phone at about eye level; shooting from below makes chins and nostrils show up fast, and shooting from above can shrink foreheads but also makes people look smaller and less present. If someone still looks skewed, pull them away from the very edge of the frame.
The trade-off is you may lose light and sharpness when you zoom, especially indoors. If that happens, find the cleanest background you can at your new distance so the phone doesn’t fight the scene.
Low light and night: do you trust Night mode or do something else?
That “lose light and sharpness” moment is where Night mode can help—but only if the scene holds still. If your subject is a sleeping kid, a building, a street sign, or friends posing and willing to freeze, use Night mode and treat it like a short video: brace your elbows against your ribs, lean on a wall, and don’t jab the shutter. Hold steady until it finishes.
If anything is moving (kids dancing, people talking, your hands after two coffees), Night mode often makes a soft, smeared photo. In that case, do something simpler: turn off Night mode, tap and hold to lock focus/exposure on the face, then brighten just a touch. Look for any “free” light—shop windows, a streetlamp, the phone screen from someone else—and step closer to it. Even a half-step can double the usable light.
The trade-off is noise and darker backgrounds. Let them go a bit dark if it keeps the face sharp; the next fix is choosing what you include so the frame doesn’t feel busy.
If the frame feels cluttered, what’s the fastest way to simplify it?
That “busy” feeling usually shows up when you’re trying to save the moment fast, so you leave everything in: the table clutter, the random sign, the bright corner, the extra people half-cut at the edges. The quickest fix is subtraction, not a new setting.
Start with one hard rule: pick the subject, then remove one distraction at a time. Take two steps left or right to get a cleaner background behind the head. If the top of the frame has a bright window, lower your angle until it’s gone. If there are messy objects near the edges, crop them out by moving closer with your feet. Use pinch-zoom only if stepping closer breaks the shot (like at a concert), because it can cost sharpness indoors.
One more fast move: fill the frame on purpose. If the subject takes up 70–90% of the picture, the background stops competing—then your quick edit can be about polish, not rescue.
The 60‑second finish: make it pop without making it look edited
When the subject already fills the frame, editing becomes simple: you’re just cleaning up what the phone guessed wrong. Open the photo and start with crop/straighten—level horizons and trim bright edge junk first. Then pull down highlights until skies and windows stop screaming, and lift shadows just enough to see eyes. If faces go gray, add a small bump of warmth, not “vibrance.”
Keep the friction in mind: heavy shadow-lifting makes indoor shots look gritty fast. A good rule is to stop the second skin texture starts to look crunchy. If you’re unsure, toggle before/after and aim for “same photo, just clearer,” then post it and move on.